Your Ultimate Beginner’s Guide To Reupholstering Old Furniture
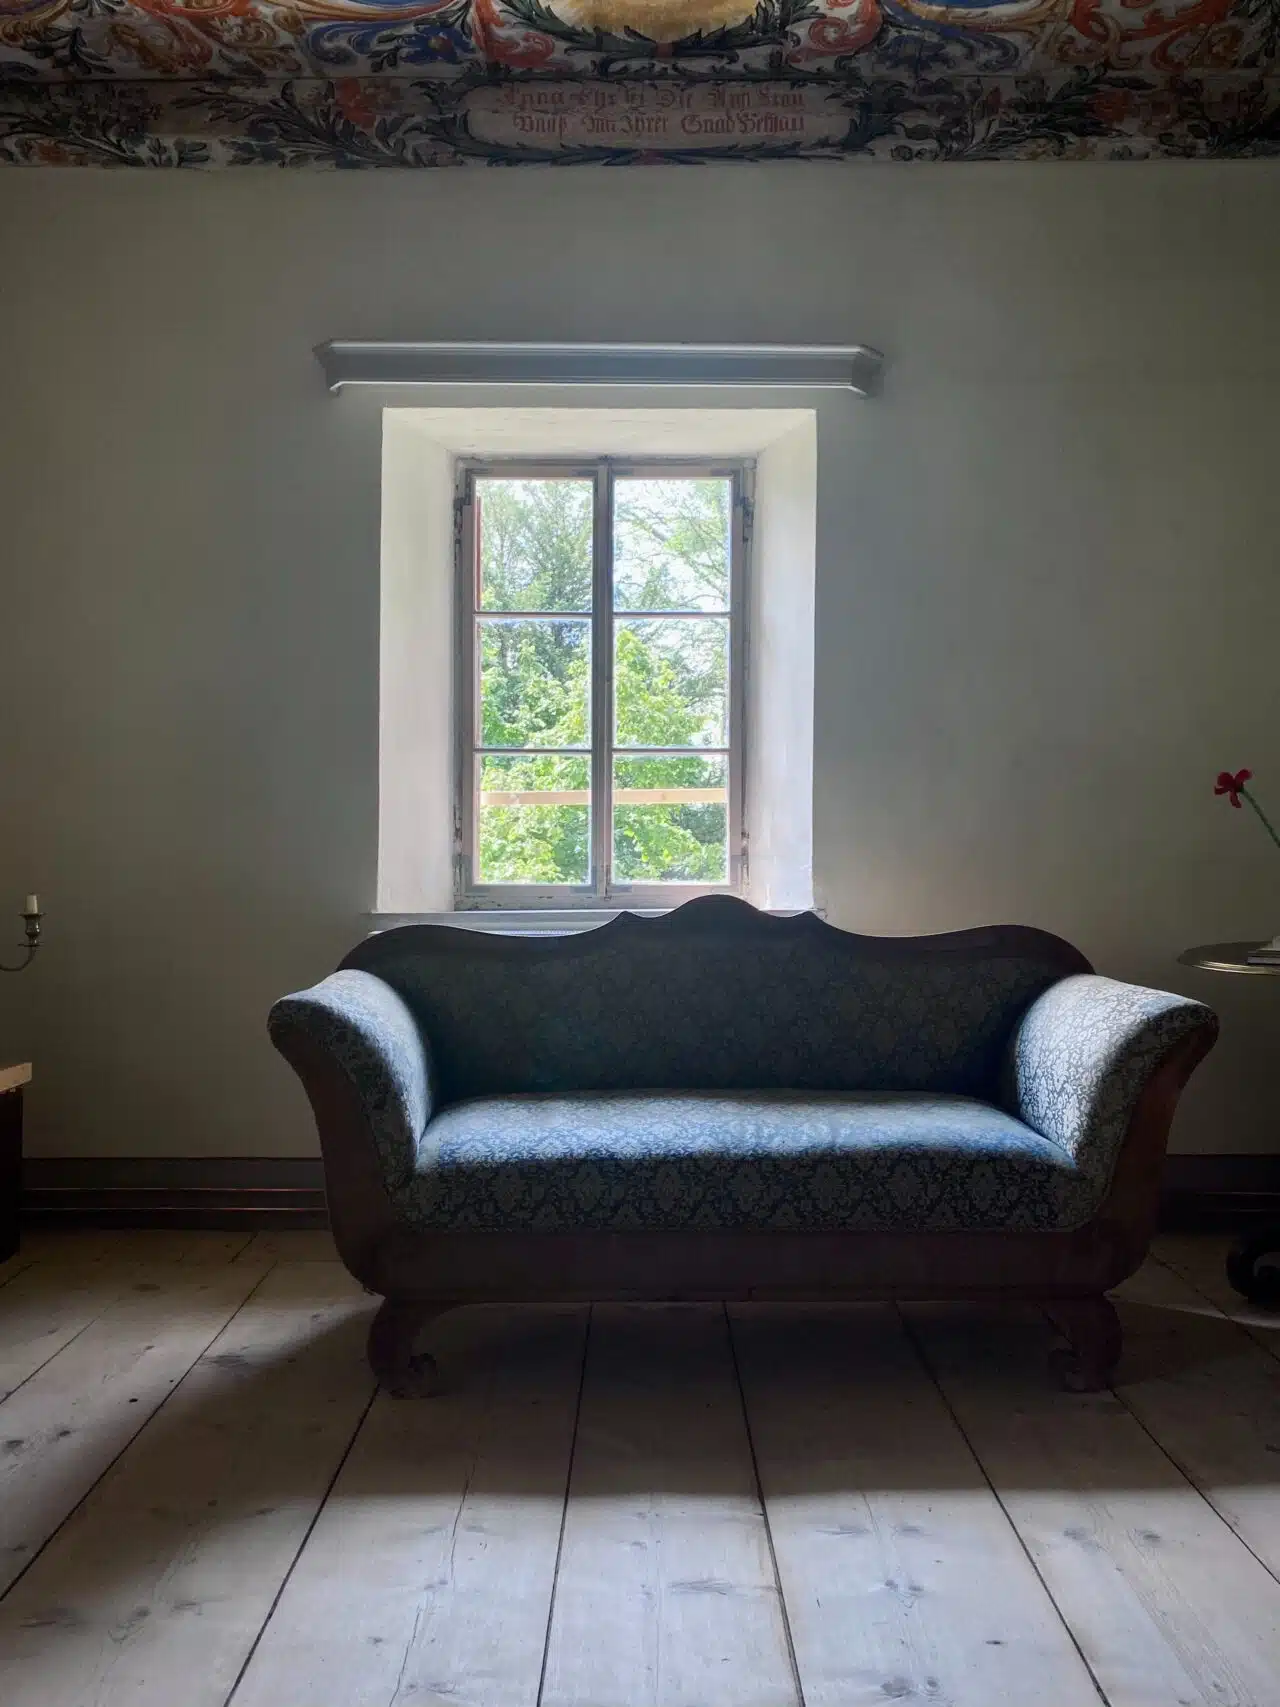
It’s never easy to see a cherished possession at the end of its life. It may be that your favorite jacket is now torn at the sleeves, your best sneakers are beyond repair after taking them to a summer festival, or perhaps an old sofa is now due an upgrade.
However, it’s also worth knowing that there may be several remedial steps you can take in order to restore vital function to this cherished piece. Sure, it will take work, effort, planning, and a little creative ingenuity, but this process is also incredibly fun, and can save you a great deal of money in the long run.
So, in this post, we’ll discuss an ultimate guide to reupholstering old furniture. We’ll also discuss how reupholstering is not simply about restoring a vital piece of furniture but improving it.
Note: This post may contain affiliate links, which means if you buy from my link I might make a small commission. This does not affect the price you pay. See the full affiliate disclosure here.
This way, you can ensure old problems are unlikely to reveal themselves again, and you have the chance to see your furnishing anew. In this light, it’s as if you had purchased a brand new home item without even realizing it. This can help you retain a sense of connection to the possessions you’ve grown to appreciate, some that may have been passed down from your loved ones.
With that in mind, let’s explore an ultimate guide to reupholstery:
Inspecting & Assessing The Piece
It’s okay to be humble when you’re just starting out, in fact, being modest about your capabilities can help you opt for manageable projects and have fun with them, instead of burning out from taking on too much at once.

First, it’s good to inspect the piece from top to bottom and consider if it’s worth the investment. If there are heavy structural cracks, breakages, and unique fabrics that can’t be replaced, it may be worth bringing this to a carpenter instead of your home workspace.
That said, this process can also help you identify some goals for the project. It might be that you want a home chair to feel more padded, or a simple task, like replacing the gas lift in an old corporate office chair you’ve had since the 90s.
Take photographs of the piece from as many well-lit angles as you can. Write down your exact goals for the project, be that refitting the upholstery or sanding, varnishing, and repainting the wood again. Be as clear about the project as you can.
Then, you can begin taking measurements of the entire chair so that you have them written down as a reference guide. Make sure to add a little regarding your fabric measurements so you have more to work with when folding and attaching this upholstery to the frame.
To achieve that, you’ll need to begin investing in the right tools.
Gathering Your Appropriate Tools
It’s important to make sure you have the right equipment on hand before you begin because otherwise, you might need to pause a project before it’s even realistically begun.
Simple tools like a staple gun for securing fabric, fabric scissors for cutting through, foam cutters, claw hammers for removing old nails safely, and of course, a good work surface installed for stability are wise investments.
It’s good to invest in worthwhile tool storage boxes or cabinets, appropriate lighting so you can see what you’re doing, and vices installed on your table so you can hold essential items in place as you work on them.
Remember that to some degree, furniture reupholstery has a lot in common with woodworking. You don’t need a great big woodshop in your garage to reupholster your dining room chair, but having the right tools on hand will make a big difference.
Moreover, consider the needs of your project when buying tools. A good off-white tin of paint appropriate for painting furniture and the best-sized brushes for applying coats is a good purchase, as is self-adhesive stabilizers you can easily use for embroidery or fabric installations.
Opting For The Best Materials
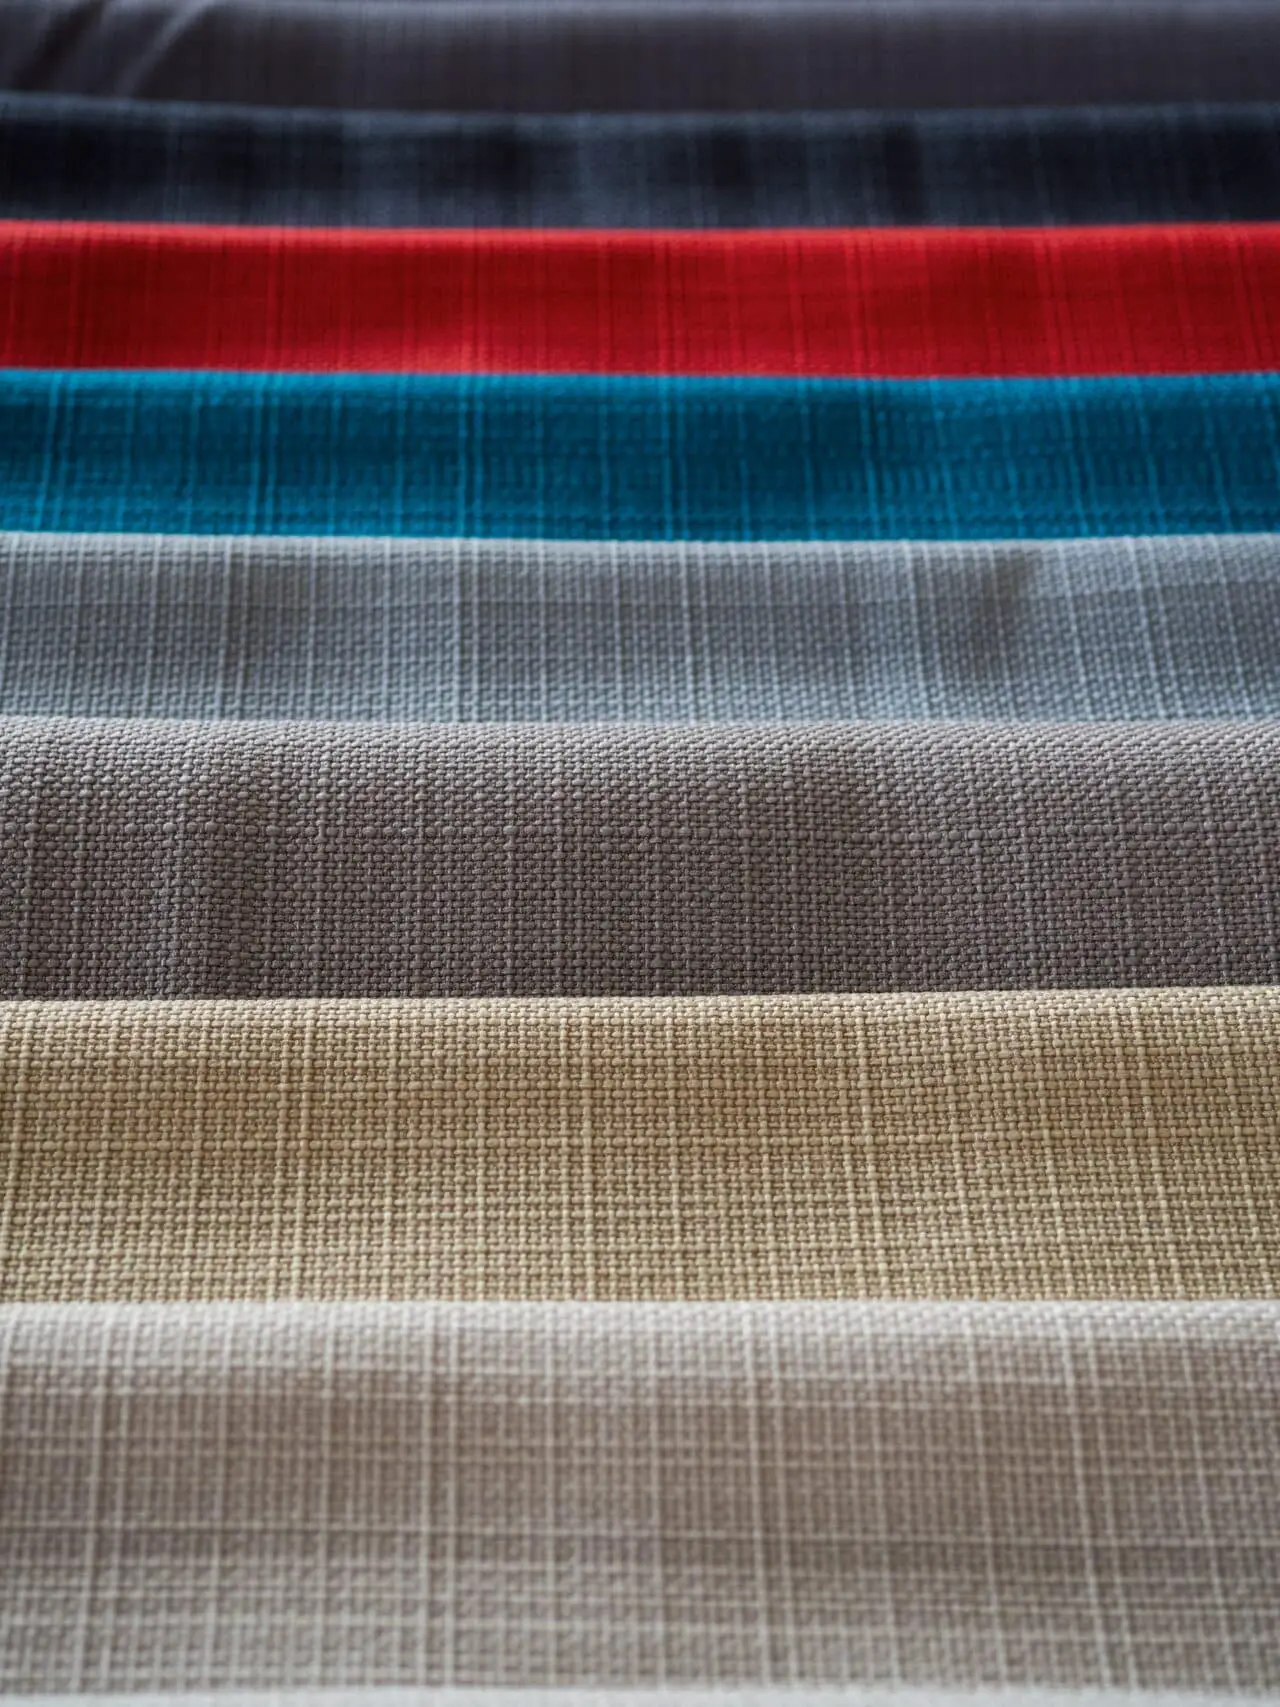
If your furniture has fabric inlays and coverage, then it’s good to opt for a nice replacement. You may seek to replicate the same shade and pattern, but perhaps opt for a new variant if you hope to renew the piece.
In some cases, the old fabric can be hand washed gently so that all dust and dirt from the years is gently washed away, provided you leave it to dry. Unfortunately, it’s uncommon for manufacturers to include fabric cleaning information with old furniture, especially if the piece is handmade or a vintage item.

Purchasing quality leather, cotton, linen, or synthetic blends to help apply the right aesthetic and necessary amount of resilience required. This may sound simple in theory, but an approach such as this will take a little time to inspect – this should be part of your planning stage.
Make sure to purchase larger sheets so you have more to work with. You can then cut to size giving a greater deal of room for adjustment (you can subtract but never add after cutting), and this will give you the chance to apply furnishing where it’s needed.
Remember that other fixtures such as wood, replacement nails or fasteners are worth purchasing too. In some cases you can reuse them, but if you can’t, make sure to measure the dimensions of the fastener and find an appropriate replacement.
Cleaning & Disassembly
Once you have the plans, the tools, and the materials in place, it’s important to clean the item gently.
You can do this with simple furniture polish, or in some cases, you may need to sand down wood and apply its appropriate treatment. Disassembling the furnishing piece by piece, taking care of your own safety while doing so.
For example, if disassembling a wardrobe you might take off the internal shelving structures first, then gently remove the doors from the hinge, then take off the back and side panels piece by piece.
Make sure to label each piece as well as note exactly what its repair or restoration process will look like. This way, you can treat each individual element with the respect it deserves.
Removing The Upholstery
As you continue on your reupholstering journey, you may need to begin a complex step – removing the old upholstery and padding. This step requires patience and attention to detail. Begin by locating the staples or tacks that secure the fabric in place. Use a staple remover or pliers to gently lift and remove them from there.
Slowly peel back the fabric, taking care not to tear or damage it. As the old fabric comes off, you’ll expose the padding beneath. Remove any padding materials, like foam or batting, while noting their arrangement for future reference. This meticulous removal paves the way for a fresh start in transforming your furniture piece, and you will have avoided damaging the most sensitive part.
Repairs
Next comes the focus on repairing the frame and adding structural improvements where you deem them most suitable. Thoroughly inspect the frame for any signs of damage, such as cracks, breaks, or weakened joints, which are liable to be present if the piece is old enough.
Repair any structural issues before proceeding. Sand the frame to remove old finishes and create a smooth surface for refinishing, which will save you plenty of headaches later on. Depending on the desired look, you can stain, paint, or varnish the frame. This step not only restores the frame’s aesthetics but also strengthens its overall integrity.
Of course, you can just replace distinct elements if you need to. For example, it may be that a chair has a broken seating frame, and so fixing up a replacement or having a carpenter do so for the exact dimensions could help you avoid having to repair it. As this might be hidden under fabric anyway, well, it’s not as if the piece itself will be lacking authenticity.
Reassembly & Finish
Putting the pieces together is the best part of the experience as far as we’re concerned. It’s where all your hard work comes to fruition.
When putting the frame together, make sure that the pieces snugly fit in the correctly assigned holes, and that structural soundness is key. You should glue these holes with furniture glue and wait for them to dry fully before finishing. Make sure to apply this with an appropriately sized nozzle to avoid leaking or dripping.
After you’ve attached your fabric to the frame, you can snugly pull it so it properly covers without warping. Then you can use your fasteners, tacks, staples, or pins neatly along the pre-portioned areas to ensure neatness and stability.
You can even add decorative trims here if you like, such as adding your own stencil art, or perhaps adding buttons or inlaid cushions sewn into the fabric. No matter your choice, you will have committed your first approach to
With this advice, you can feel pride in your home-grown effort to turn old possessions into something new. Not only may this have saved you a great deal of money, but you’ve learned a craftsman’s art you will no doubt exercise again in the future. We hope this guide helped you on that journey.


