How to File Down Acrylic Nails at Home [Step by Step Guide]
Easy to follow step by step guide to help you file down acrylic nail at home like a pro!
![How to File Down Acrylic Nails at Home [Step by Step Guide] How to File Down Acrylic Nails at Home](http://hellobetty.co/wp-content/uploads/2020/02/File-Down-Acrylic-Nails.jpg)
The ringing of the bells that we can file down artificial nails at home, sounds quite astounding. Now a days, people usually get their hand on acrylic nails because they offer better nail quirks than the unmaintained natural ones.
The beginning step of the correct application of acrylics seem somewhat tricky. That’s perfectly OKAY! You will face initial stumbling block in the form of rugged, bumpy texture of the nails. These are all some of the initial pain in the arse.
Continuous effort on your part will make you a Pro. Follow the snippet “Practice makes a man perfect.”
Note: This post may contain affiliate links, which means if you buy from my link I might make a small commission. This does not affect the price you pay. See the full affiliate disclosure here.
Please note that filing acrylic nails is different from shaping natural nails, as the former require more efforts and practice.
Steps to File Down Acrylic Nails at Home
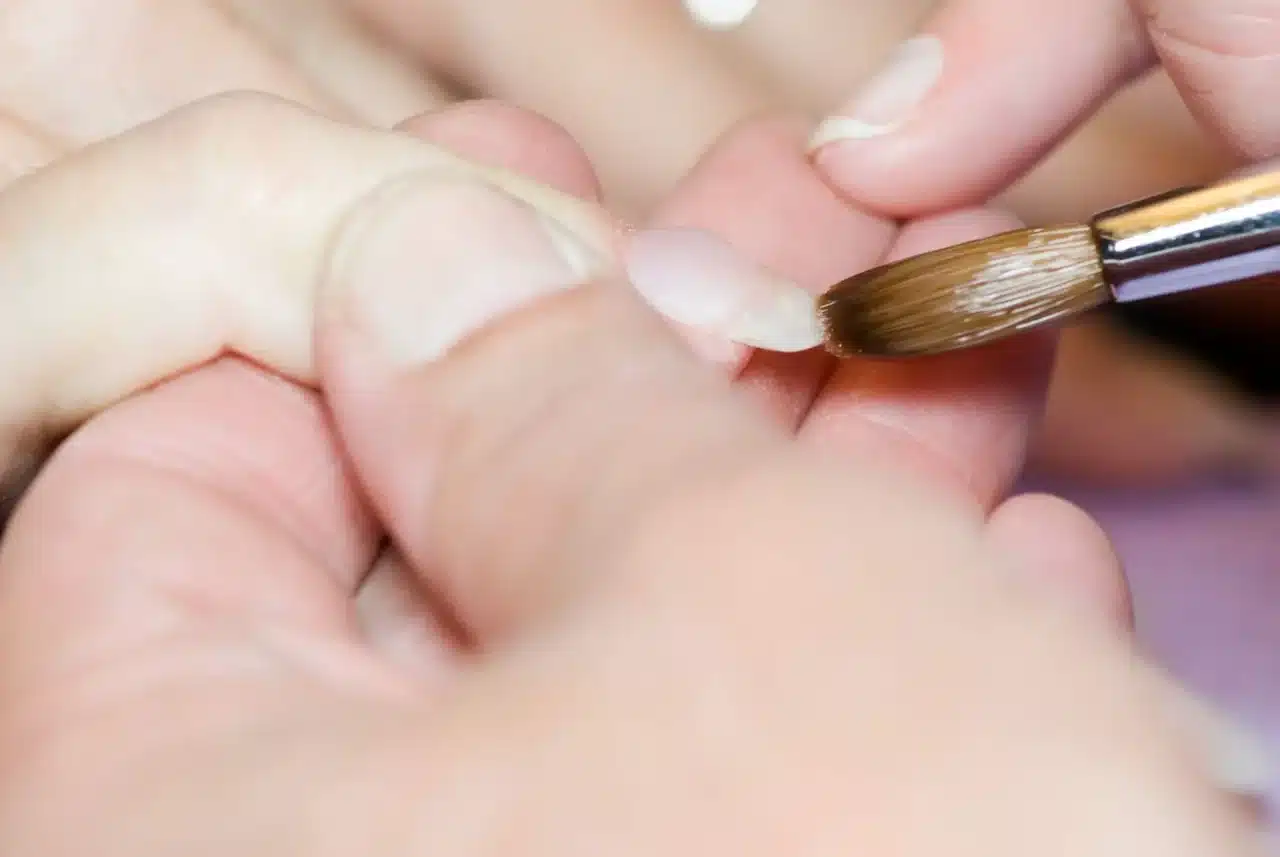
Once you have applied the acrylics in the correct dimension like a pro, then move on to their smooth filing down.
Step by Step Guide
Step # 1: Make sure that you are having a first-rate file at home. Crystal glass nail files are newfangled products in the town. They help to prevent the jaggy, scratchy edges of the nails in order to give them a fine look.
Step # 2: Standard nail file possesses sharp edged quality. They file down the nails in a quite pointed manner. If you give an Okay call to the standard nail file, then there is a risk of hurting and bruising the skin accidently. So, to avoid all this ado, give a try to a glass nail file.
Step # 3: Once you have grabbed the appropriate nail file, then look for the free edges of the acrylics. Free edges refer to those parts of the false nails that lie in the neath region. Turn the nail sideways so that a fine rub is given to the free edges with the help of a file.
Step # 4: Then hold the file in an upside-down position and move it in the same position on one side and then on the other side. This will bring the nails in an appropriate alignment.
Step # 5: After saying goodbye to free side edges, welcome the top free edge with filing. You need to keep a point in your brain’s memory chip that this step requires a lot of force in order to file down the top edges in a straight fashion. It won’t cause any disruption in the appearance of your acrylics rather it will give them a smooth look.
Step # 6: In order to make this step really smooth and comfortable, you need to hold the top edged acrylic down so that the force is suitably directed on the nail, ensuring the stability of the edge. WOAH! the strenuous step is done.
[su_box title=”Alternative Method” style=”glass” box_color=”#175209″ radius=”7″]
If you don’t find the above tip satisfying, then you may try an alternate method i.e hold the hand in firm grips, so the acrylics don’t play Hide and Seek. Latch onto the top edge and Tick Tick! That is the only option.
Shorter nails enjoy the perks of being less in length, as in this case, the fingers stay in the same position if given a good clench.[/su_box]
To conclude, this was one of the easiest ways to file your acrylics yourself at home. If you have any question, please feel free to connect with us!

![How to File Down Acrylic Nails at Home [Step by Step Guide] File Down Acrylic Nails](https://hellobetty.co/wp-content/uploads/2020/02/File-Down-Acrylic-Nails.webp)


